Creating Your Automation Flows
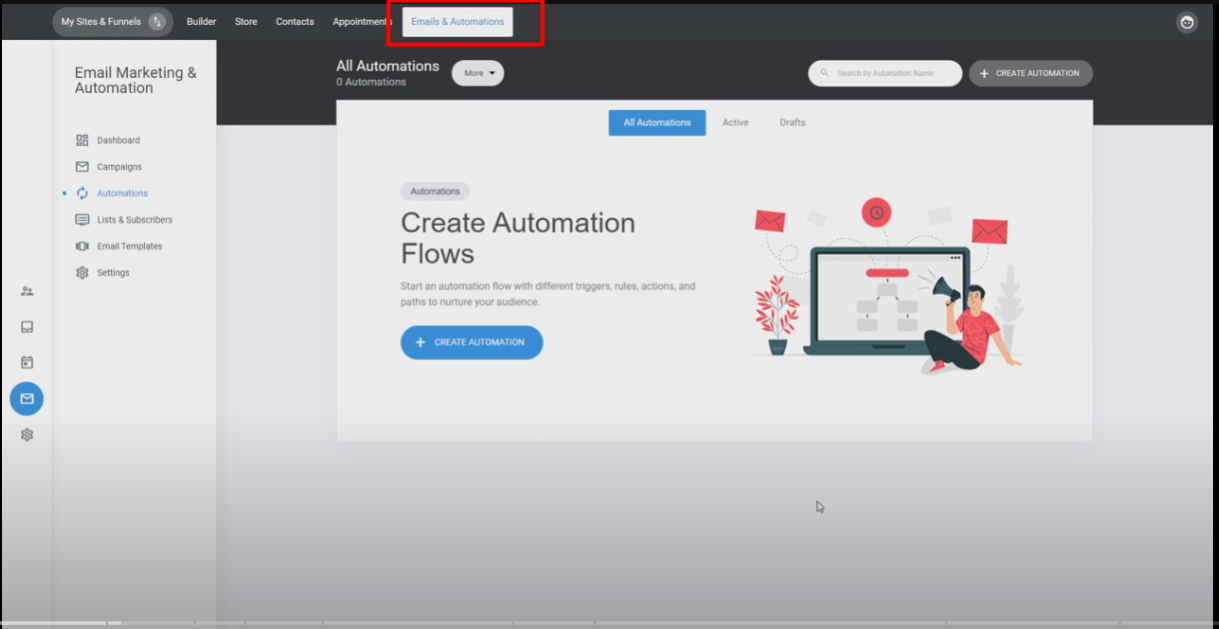
- Start by accessing the automation section of your MusicFunnels account.
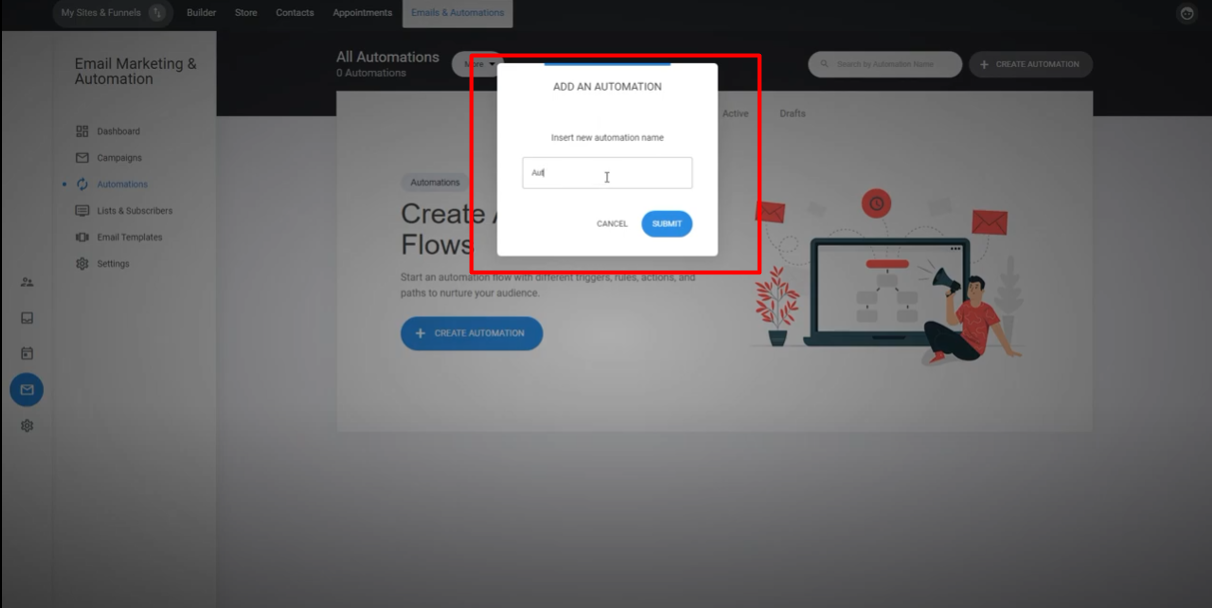
2. Give your automation flow a name to identify it easily.
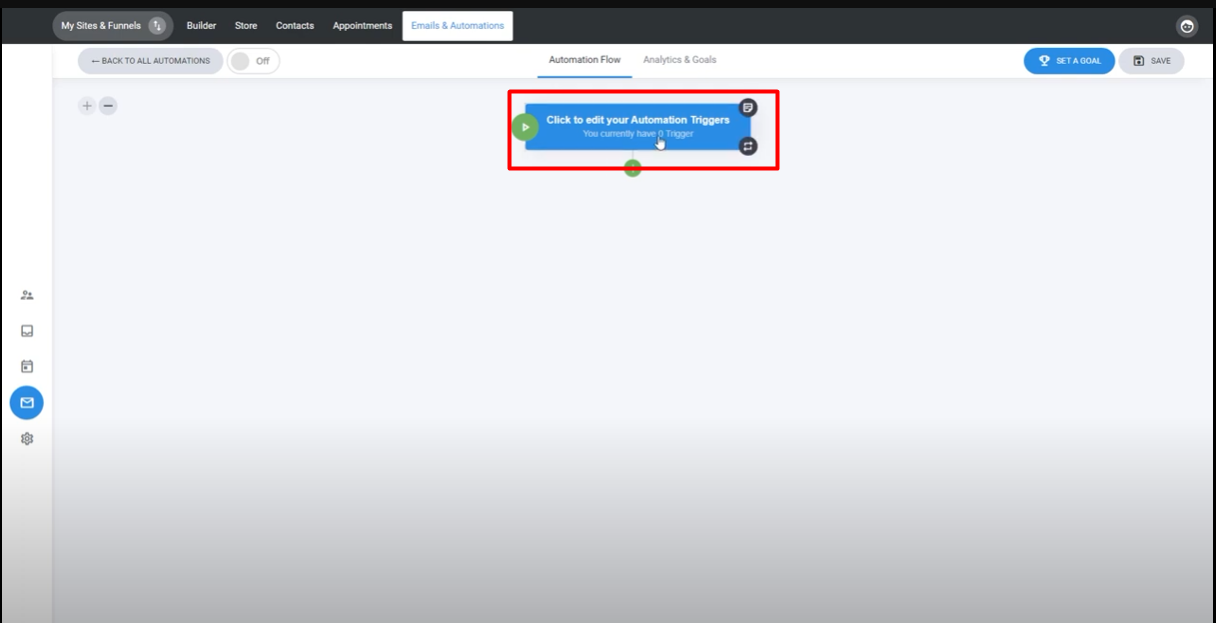
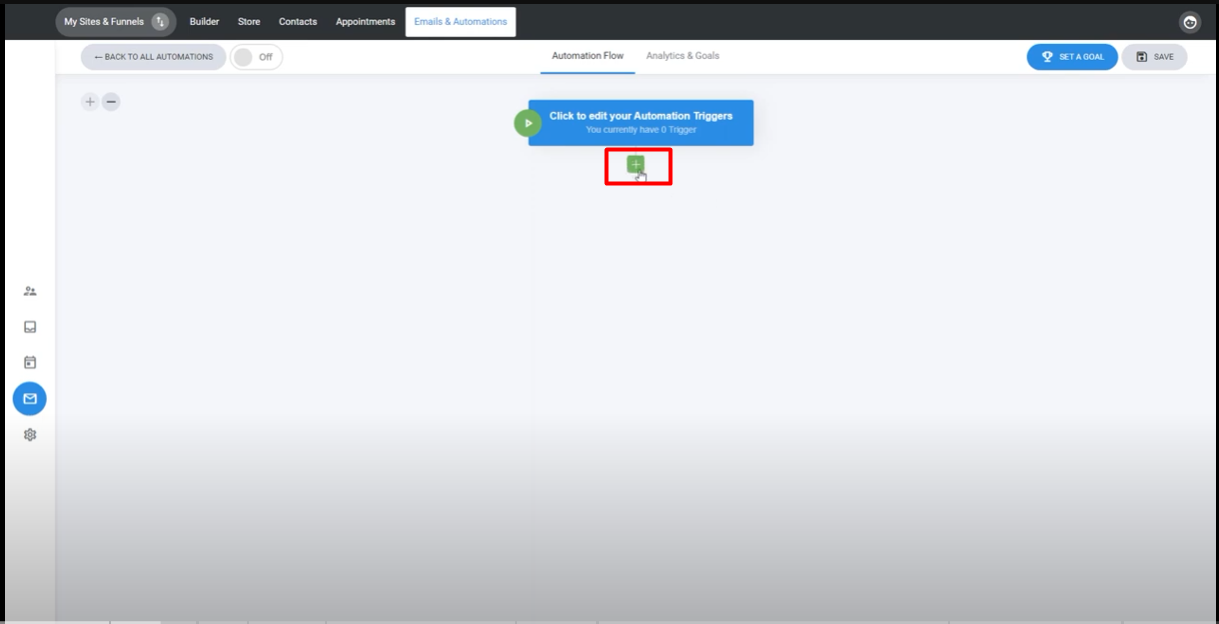
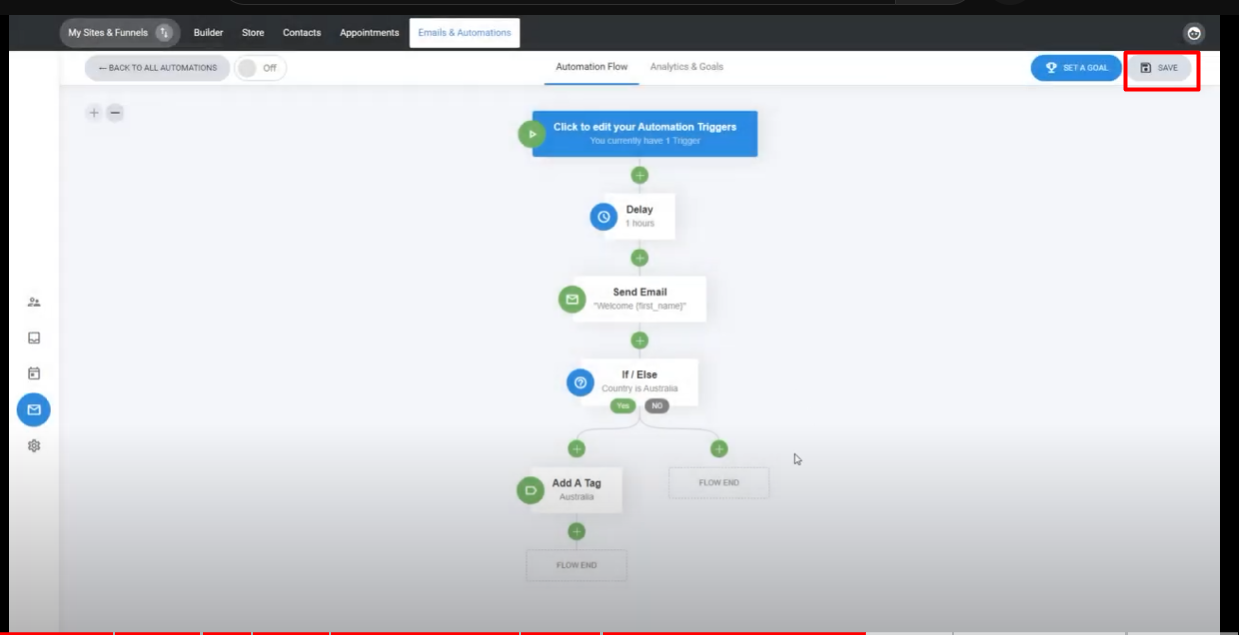
3. Begin building the flow by adding a trigger, which determines what action will initiate the automation for a person.
4. Click on the "+" sign to add the first action to the flow after the trigger.
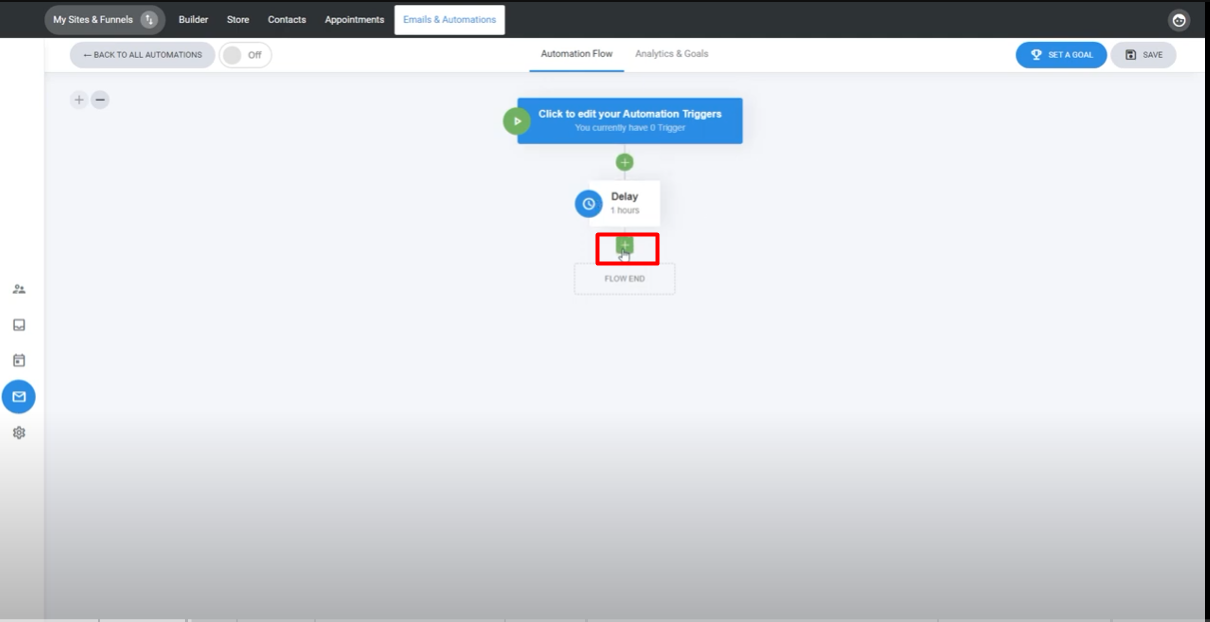
5. If you want to introduce a delay before the action takes place, select the "Delay" option and set the desired time, such as one hour. Save the delay action.

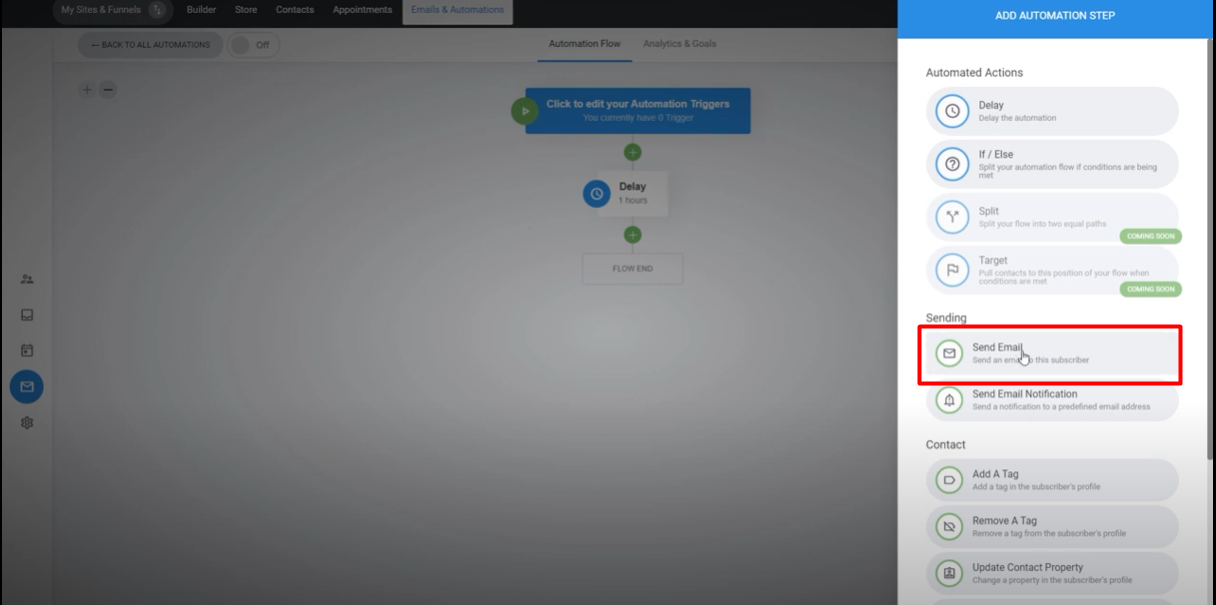
6. Click on the "+" sign again to add another action that you want to perform after the delay.
7. For example, select the "Send Email" action and provide a name for the email, like "Welcome."
8. Personalize the subject of the email by adding the recipient's first name. Use the available options to select the first name variable.
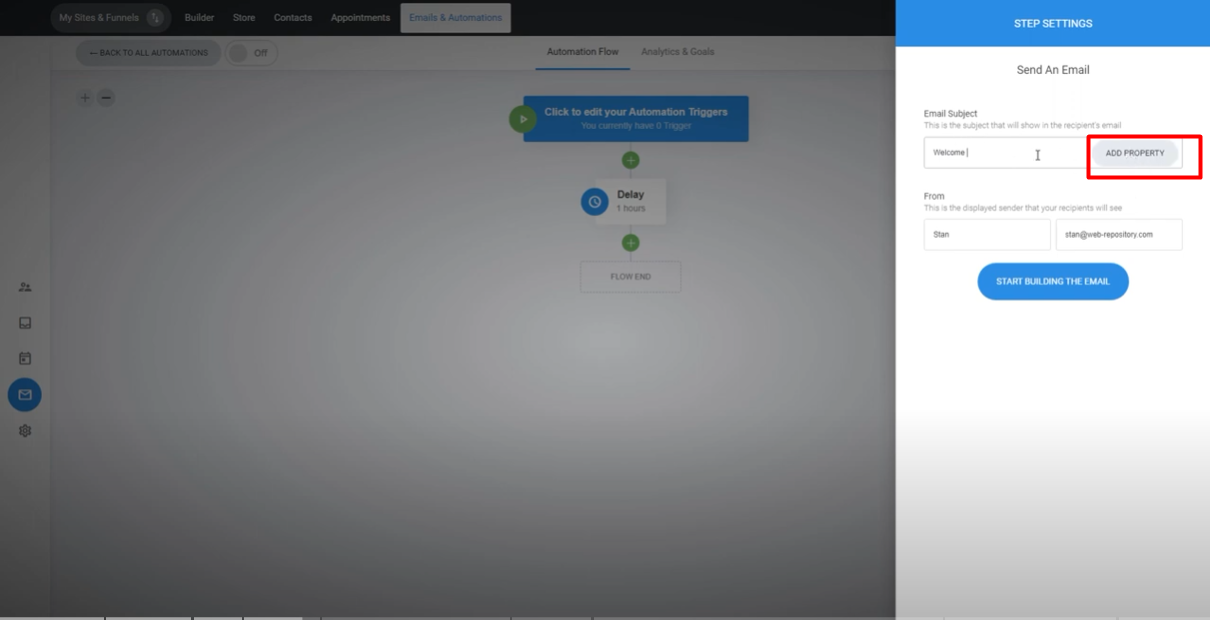
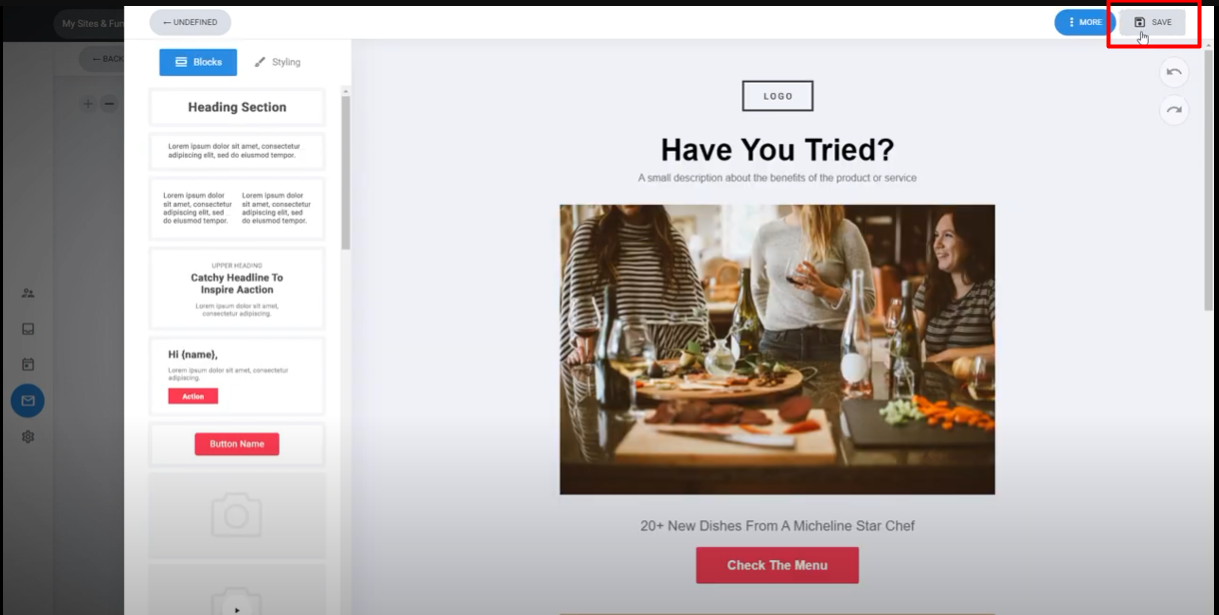
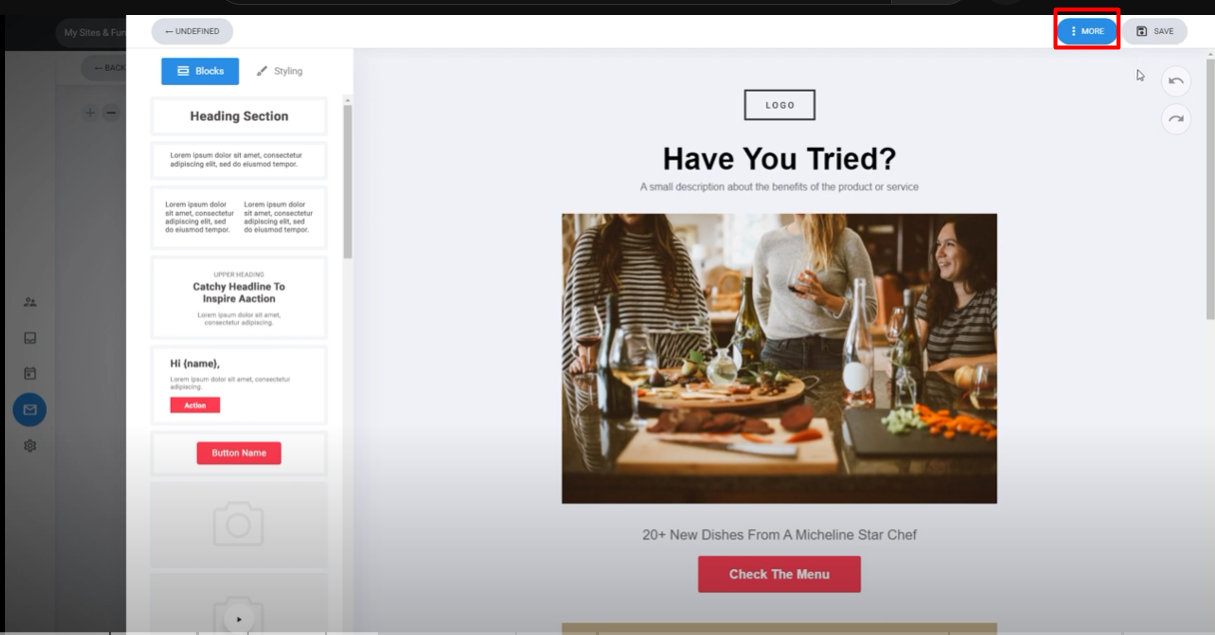
9. Click on the button to design the email. You can choose from pre-designed templates or start from scratch.

10. Save the email design once you're satisfied with it.
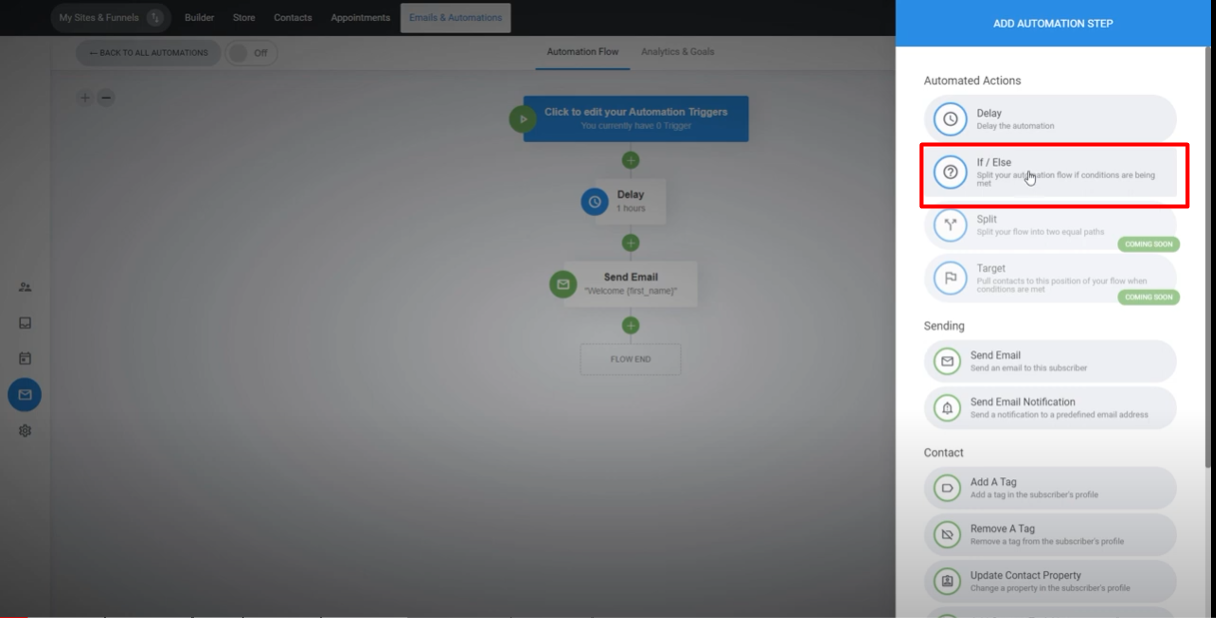
11. You can add more steps to your automation flow by clicking on the "+" sign and selecting additional actions.
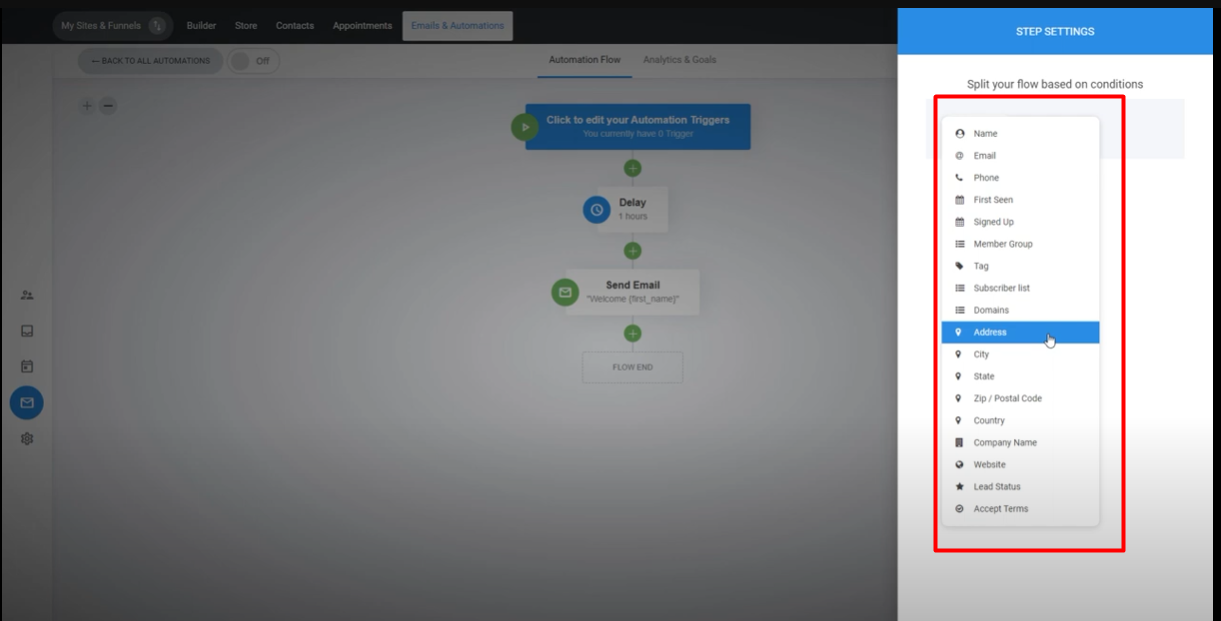
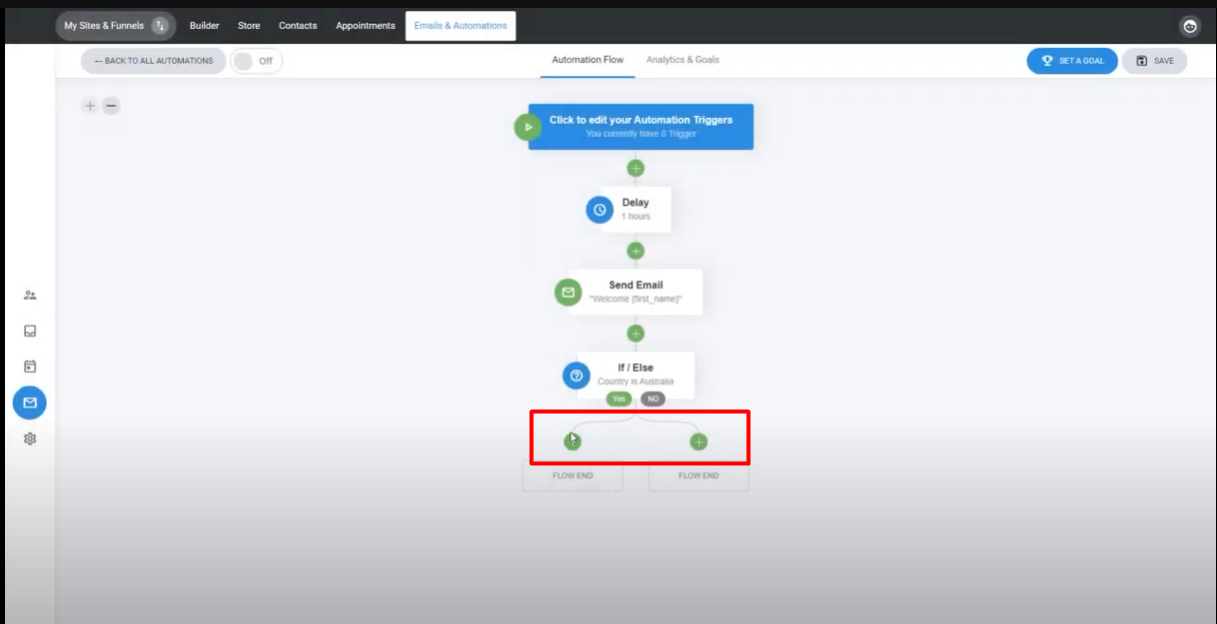
12. Utilize the "If Else" rule to split the flow based on certain properties. For example, you can create different paths for users from Australia and those from other countries.
13. Customize each path by adding actions specific to that group, such as adding tags, updating properties, or performing other actions.
14. Continue building your flow by adding more actions as needed.
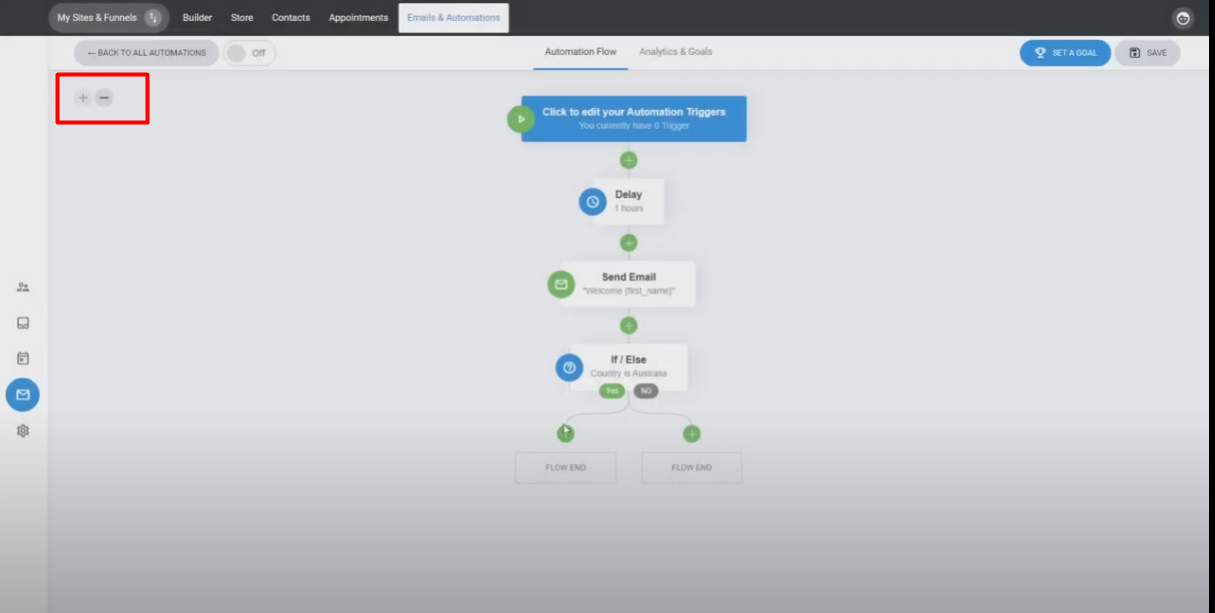
15. To get a better overview of a large flow, click on the "-" sign to view a bigger picture or go back to the original view.
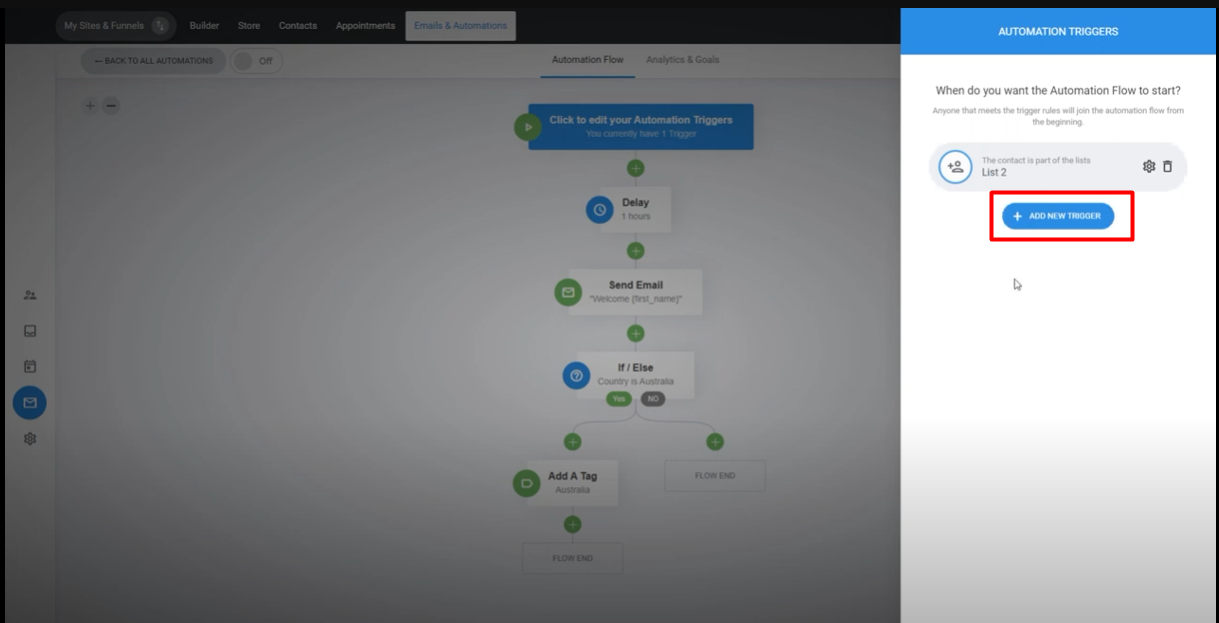
16. Set the trigger for when a person should join the flow by clicking on the trigger section.
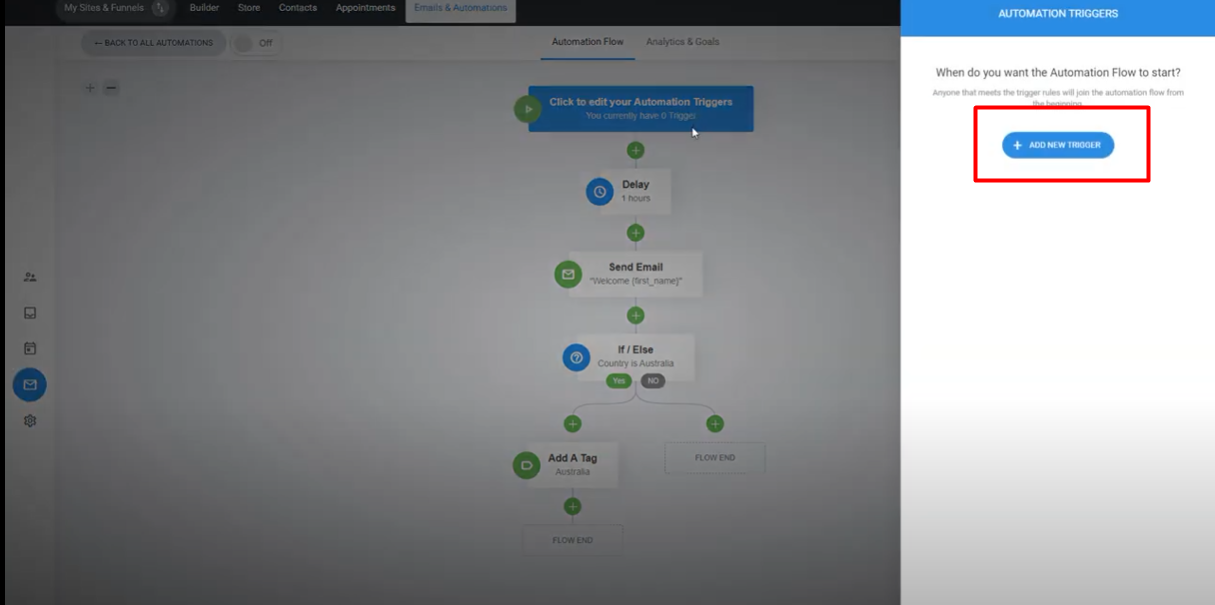
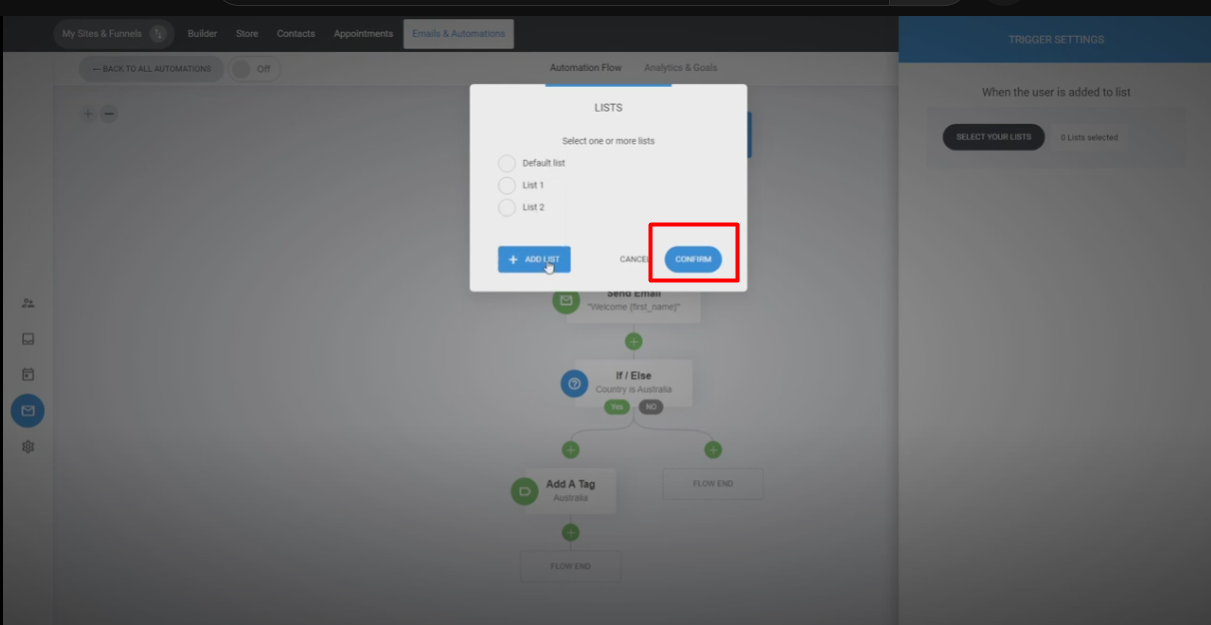
17. Click on "Add New Trigger" and select the desired trigger, such as when someone joins a specific list.

18. Choose the list from the available options or create a new list.
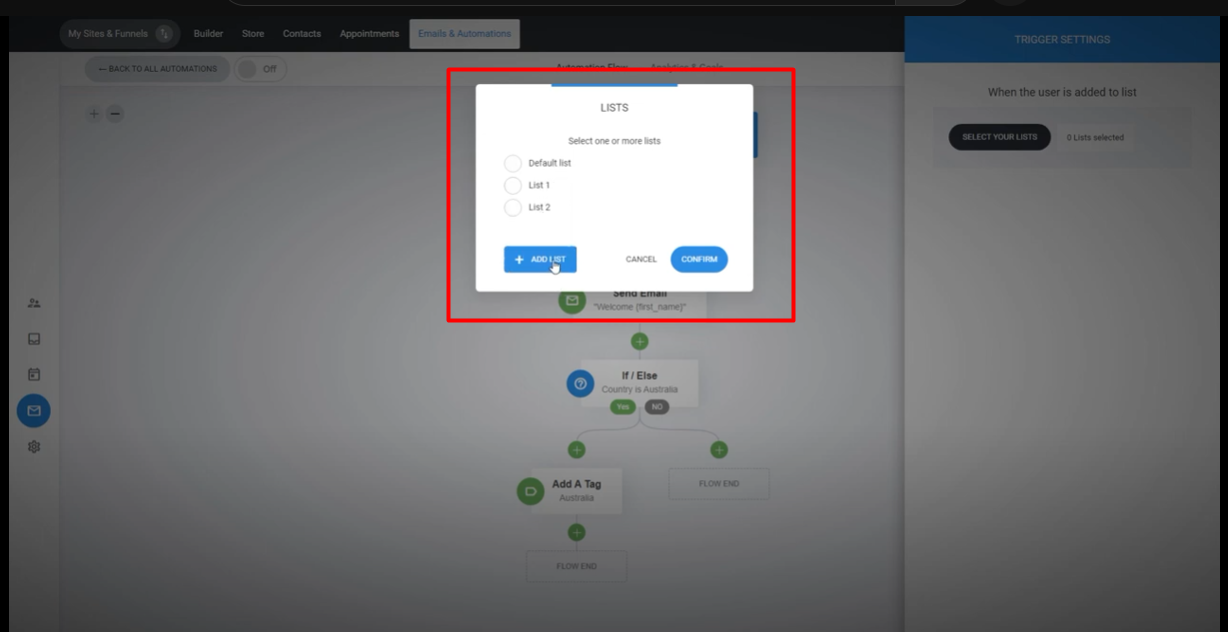
19. Confirm the trigger to add it to the automation.
20. You can add multiple triggers to allow different actions to initiate the automation for a person.
21. If you want the person to repeat the automation when they exit, enable the corresponding option.
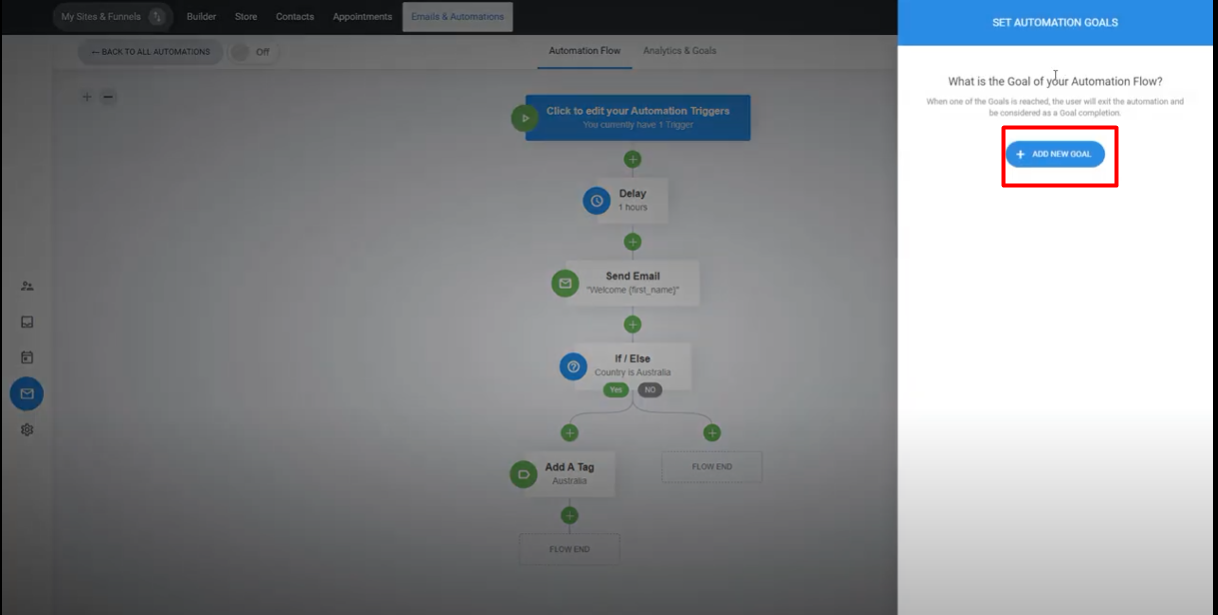
22. Define a goal for your automation by clicking on "Set a goal."

23. Click on "Add New Goal" and select the action that will trigger the goal, such as when a person is tagged with a specific tag.
24. Choose the tag from the available options or create a new tag.

25. Save the goal once you've set it up.
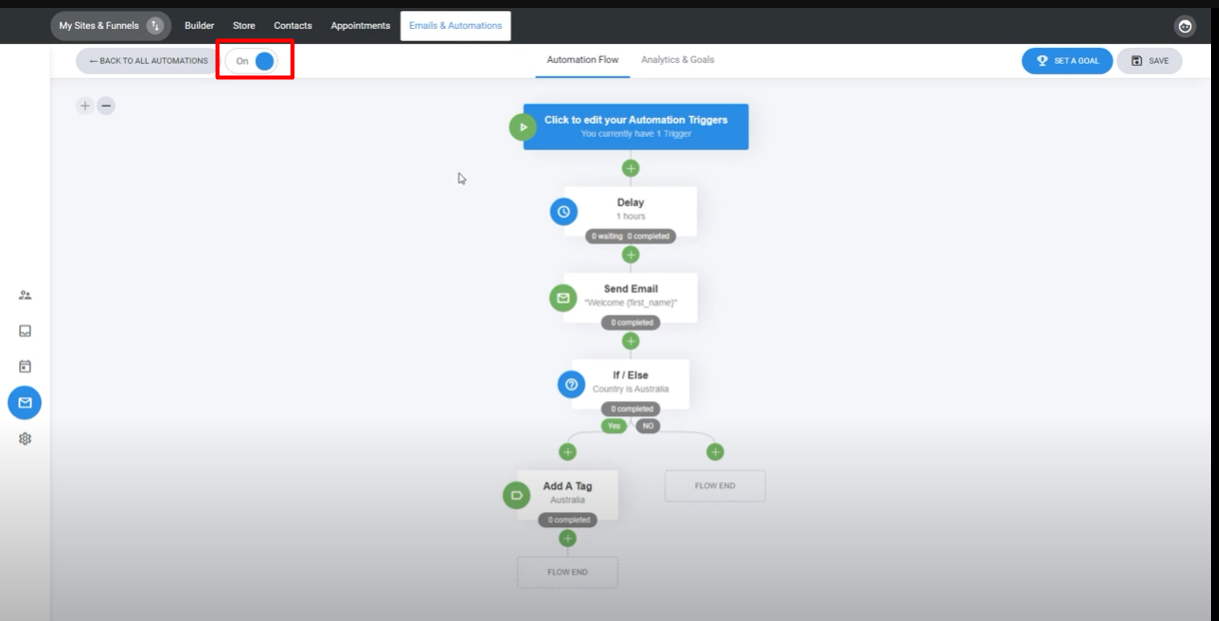
26. Turn on the automation to allow people to enter and start receiving the automation flow.
27. Access the analytics and goals section to monitor the progress of your automation.

28. Check the number of people who entered, completed, and reached the end of the automation, as well as those still in the flow.
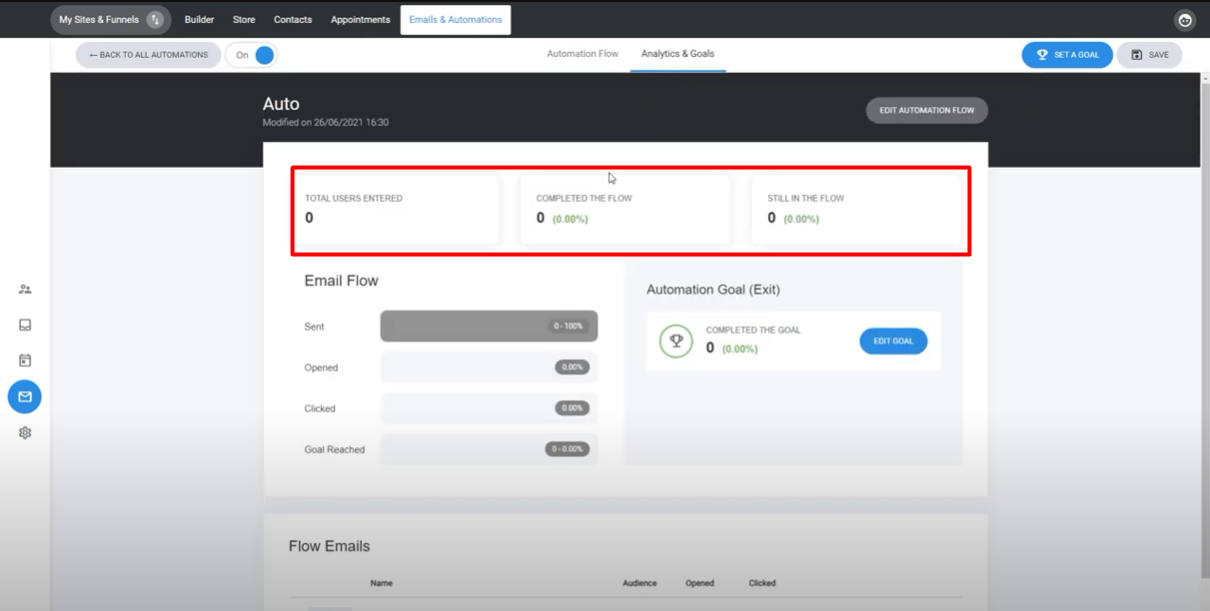
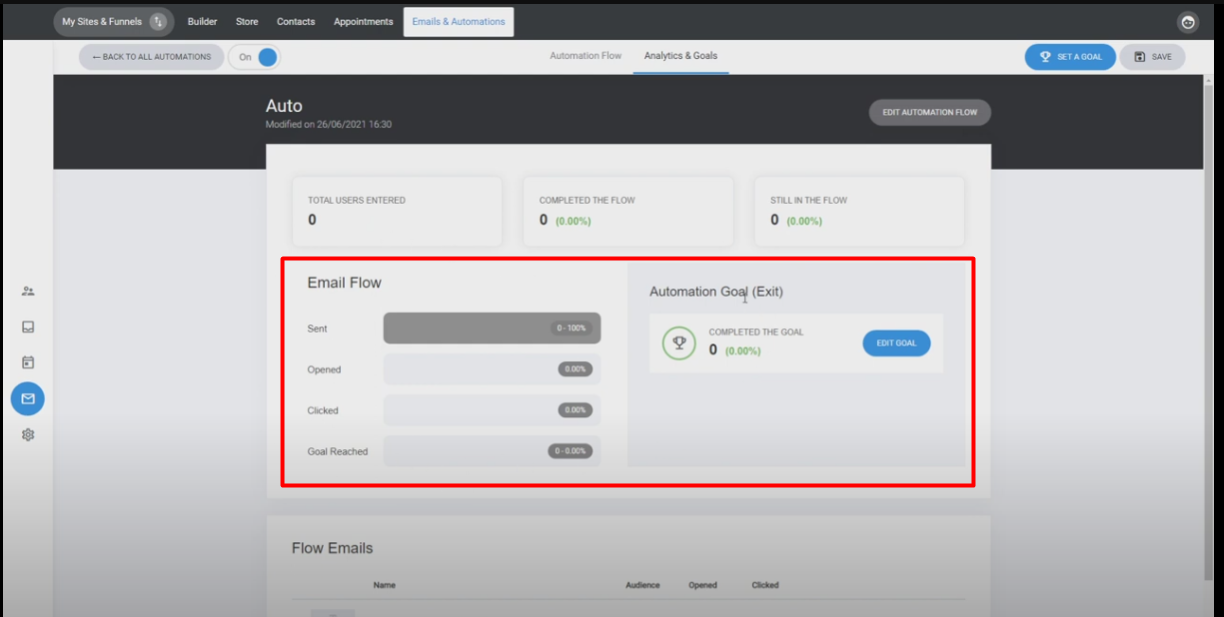
29. Analyze the goal completion and other relevant metrics provided in the analytics.
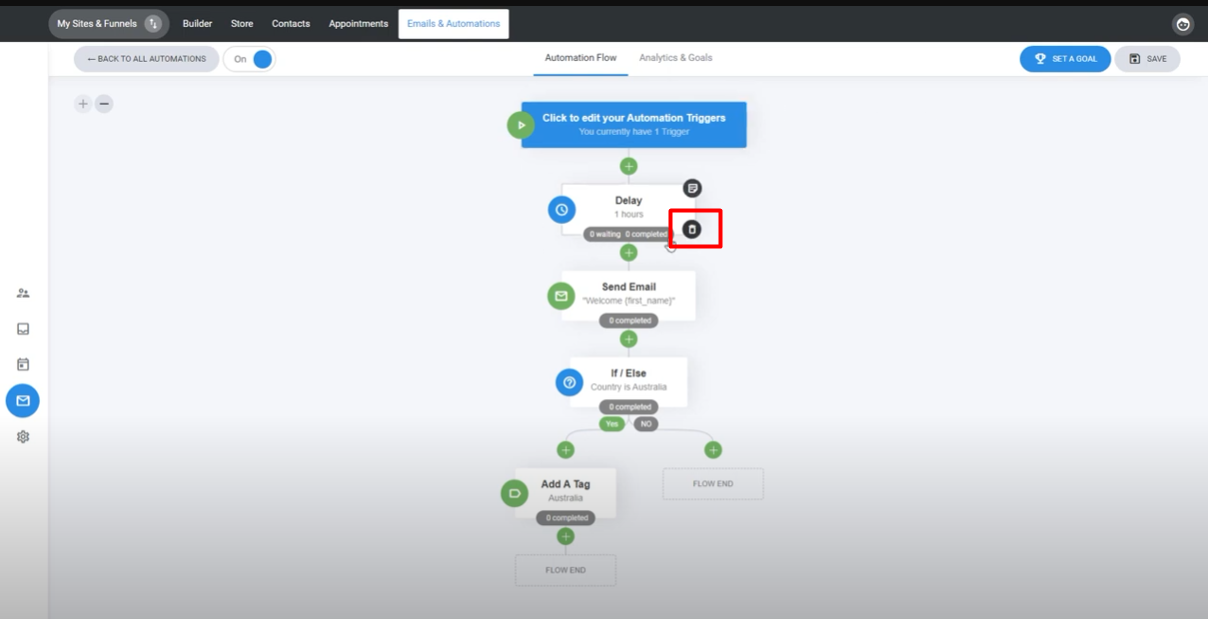
30. Modify the position of steps by using the "Delete" option to move them up or down.
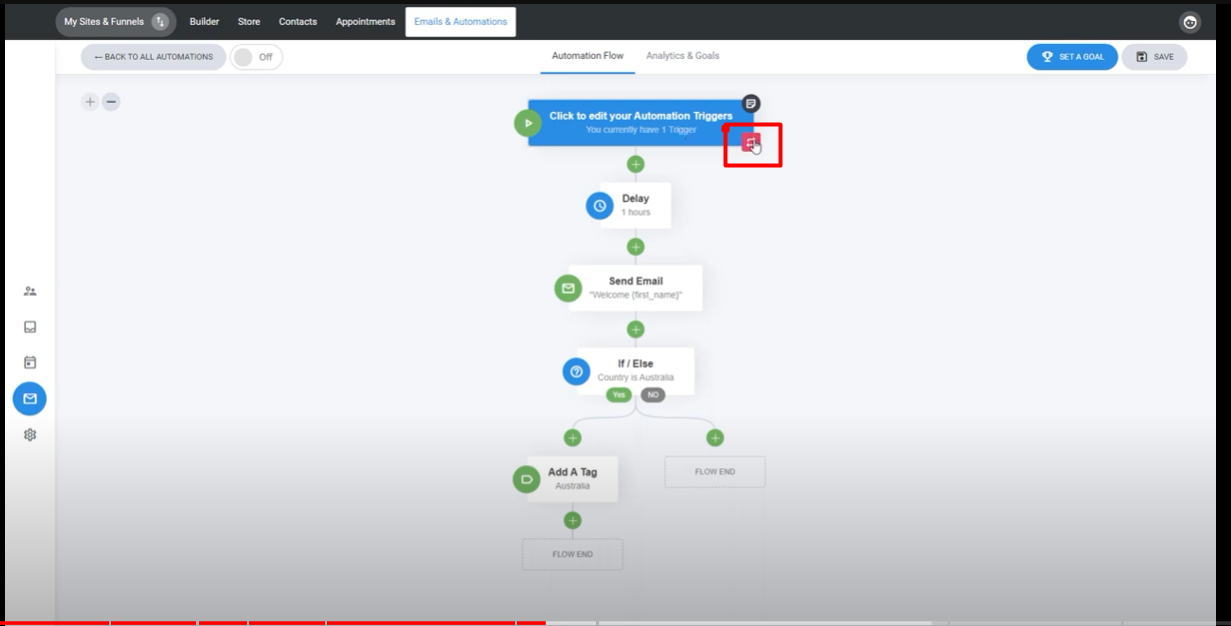
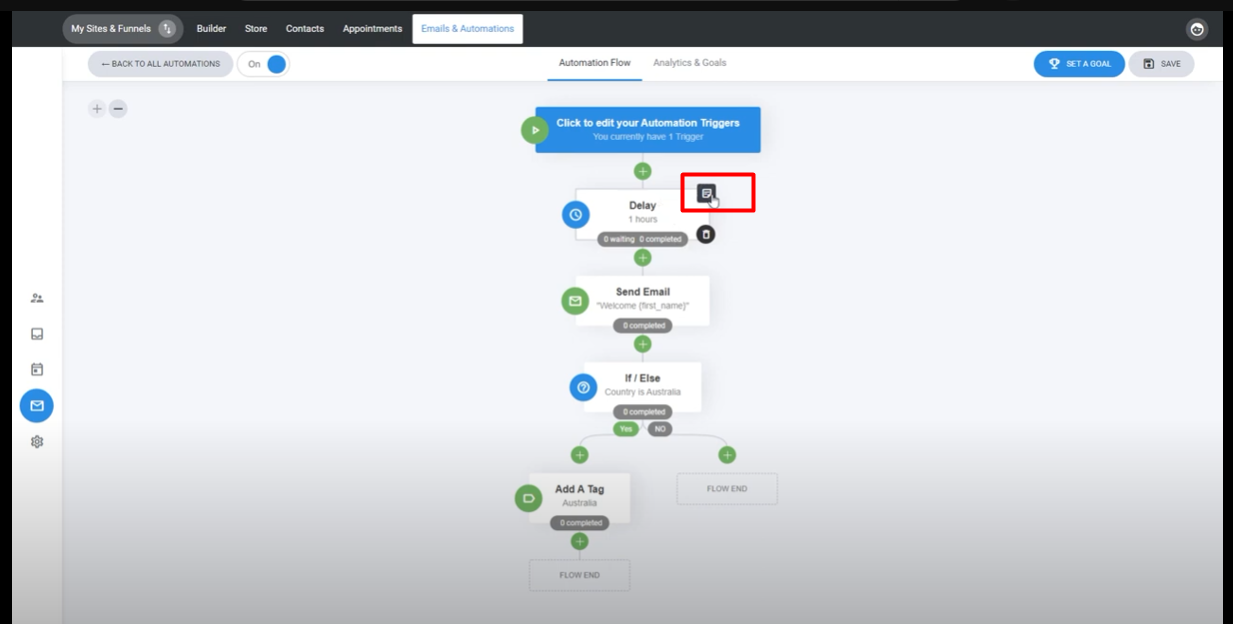
31. Add notes to your steps by clicking on the note icon. You can leave reminders or instructions for yourself or your team members.
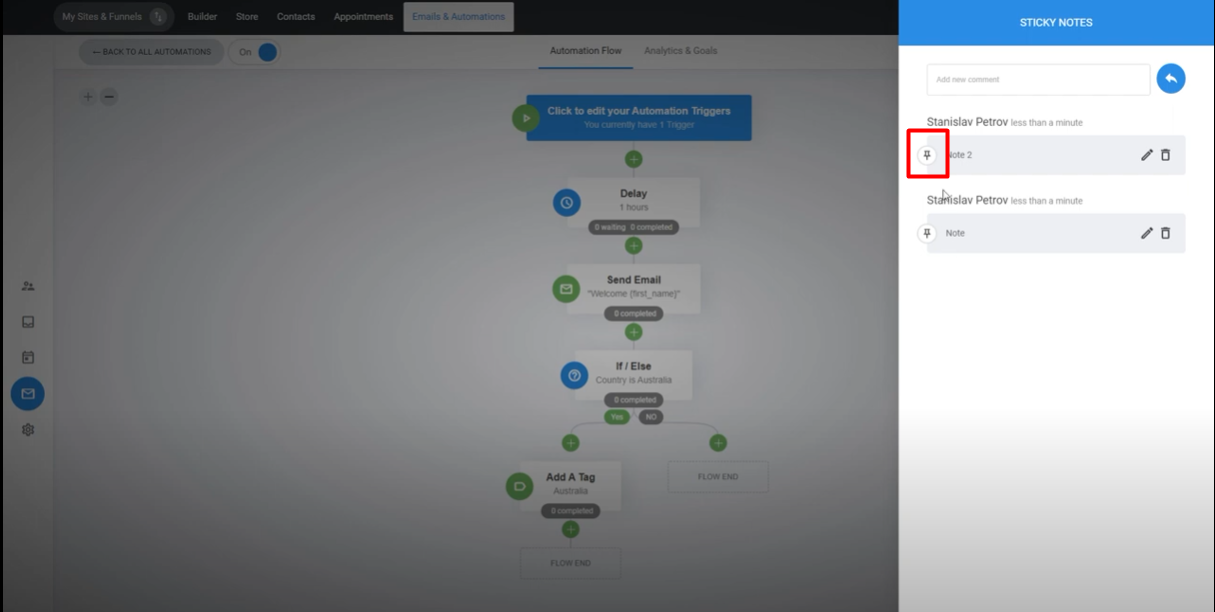
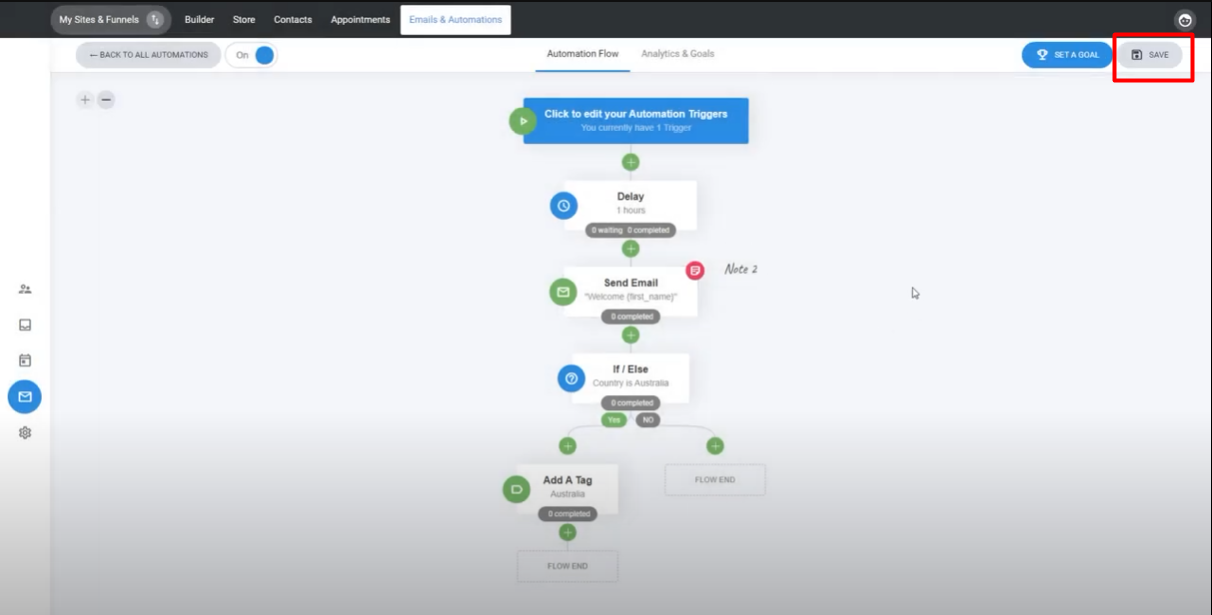
32. Pin important notes to keep them visible at all times.
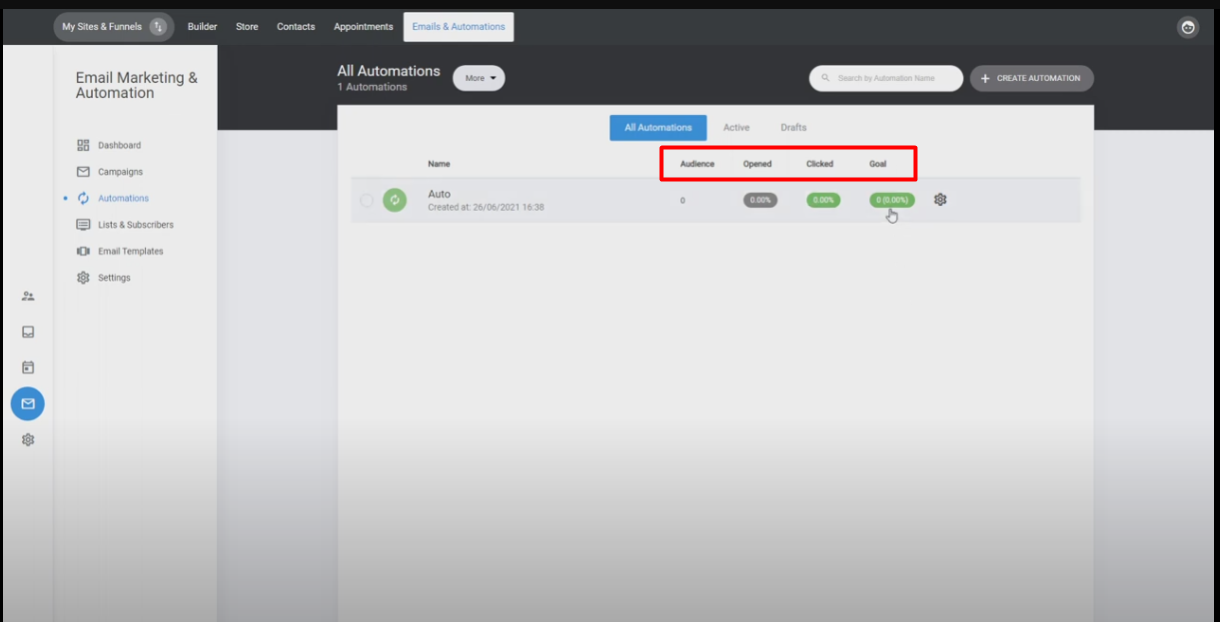
33. Save changes and go back to the automation overview, where you can see all your automations.
34. Monitor open rates, click rates, and goal achievements for each automation.
35. Clone an automation if you want to create a similar version with slight modifications.

Remember to experiment and explore the capabilities of your automation tool to create unique and effective automation flows.